Quick answer
At-home shooting practice works best with a shooting pad, a net or targets, and a focus on wrist shot and snap shot mechanics rather than raw power. Ten to fifteen minutes, 4 to 5 times a week, builds accuracy and shot release speed over a season.
01
Setting up a safe shooting space
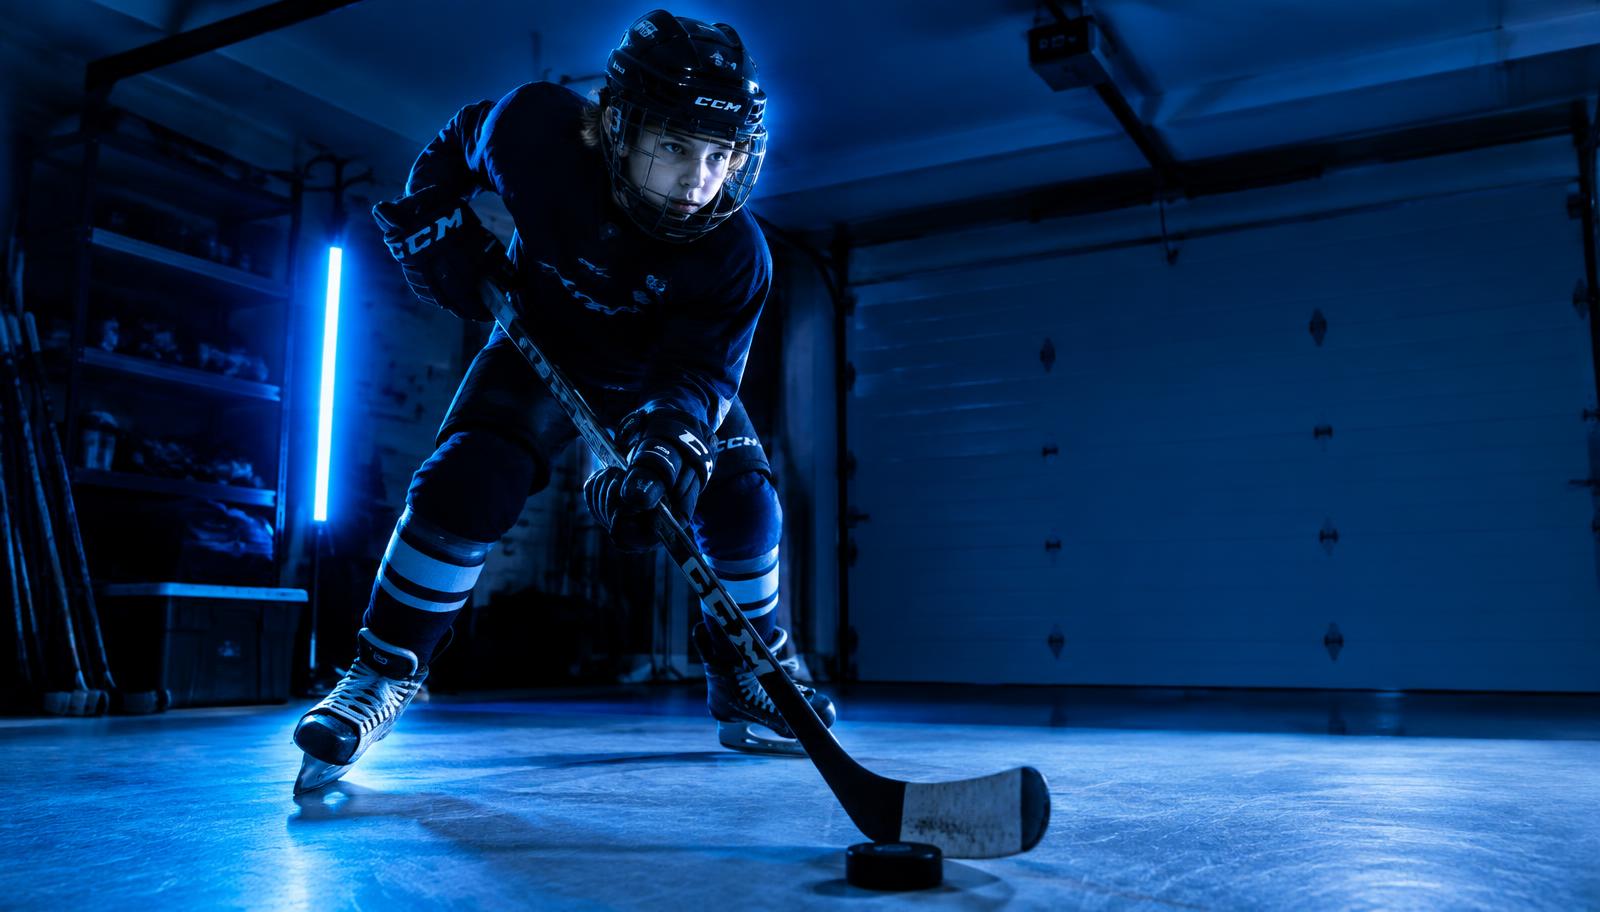
A garage, basement, or driveway with a net or a simple target board works well. If shooting toward a wall or garage door, use a soft training puck or ball designed for indoor use, not a real puck, and check that nothing breakable is in the shot's path.
A shooting or sniper's pad, a smooth plastic sheet that mimics ice, helps players feel the correct weight transfer and glide, though a smooth garage floor works fine for beginners. Set up targets, taped squares, a stack of tape rolls, or a specific hockey target net, in the top corners since that is where most goals are scored.
02
Wrist shot mechanics
The wrist shot is the foundation of most goals and should get the majority of practice time. Focus on: puck starting on the heel of the blade, weight shifting from back foot to front foot, and a full follow-through toward the target with the blade pointing where the shot went.
Drill: 20 wrist shots at a stationary target, resting the puck each time before shooting, focusing purely on form. Follow with 20 more shots while moving into the shot from a stickhandling approach, which is closer to game speed.
- Wrist shots at target, stationary: 20 reps
- Wrist shots off the move: 20 reps
- Snap shots at target: 15 reps
- Quick-release shots off a pass or bounce: 15 reps
03
Snap shots and quick release
Snap shots use a shorter, quicker motion and are valuable for shooting off a pass or a rebound. Practice receiving a puck (a self pass off a wall or from a parent) and getting a shot off within one second, 15 reps focusing on speed of release over power.
As players get older and stronger, adding quick-release shots off a bounced pass builds the game-realistic skill of shooting without a long wind-up, which is often the difference between a shot getting blocked and getting through.
04
Age-specific notes
Ages 7 to 9: focus entirely on wrist shot form with a soft puck or ball, 10 minutes, using low targets and celebrating accuracy over power. Ages 10 to 12: 15 minutes mixing wrist shots, snap shots, and simple targets, with reps increasing gradually.
Ages 13 and up: 15 to 20 minutes including quick-release work and shooting off the move, closer to game conditions. At this age, some strength and conditioning work off the ice also contributes meaningfully to shot power.
05
Mistakes to avoid
Avoid chasing power before form is solid, a technically sound wrist shot with proper weight transfer generates more usable power than a hard slap at a young age with poor mechanics. Do not use a real, hard rubber puck indoors, use soft training pucks or tennis balls to protect walls, windows, and shins.
Skip long, unfocused sessions, twenty minutes of purposeful reps beats an hour of aimless shooting. And make sure kids are shooting at real or taped targets rather than just firing pucks with no aim, target practice builds the accuracy that actually matters in games.
06
Making shooting practice a routine
A shooting pad and net set up permanently in a garage or basement removes the setup friction that kills consistency. Kids who shoot even 10 minutes most days develop noticeably better shots over a season than those who only shoot at organized practice.
In the Work Creates the Reward app, parents can log daily shooting practice as approved work, with points earned for completing the session, not for goals scored in games. That keeps a bad shooting night in a real game from feeling like wasted effort, since the practice itself is what earned the reward.
Try this week
- 1Set up a shooting target in the garage or driveway with soft training pucks.
- 2Run the wrist shot drill sequence 4 times this week, 10 to 15 minutes each.
- 3Add snap shot reps once wrist shot form feels consistent.
- 4Track shooting sessions and celebrate consistent practice over shot count.
Sample weekly point plan
Points for the work your child controls. Wins, stats and roster spots are what that work creates.
Up to 20 pts a week
| Work | When | Points |
|---|---|---|
| Complete wrist shot drill sequence4x per week | 4x per week | 8 pts |
| Practice snap shots at targets3x per week | 3x per week | 5 pts |
| Set up and put away shooting gear properlyEach session | Each session | 2 pts |
| Try quick-release shots off a pass2x per week | 2x per week | 5 pts |
Parent questions
What is the best surface for at-home shooting practice?
A shooting pad on a smooth floor works best, but any smooth garage or basement floor is fine to start. Avoid carpet or uneven surfaces, they change how the puck glides.
Is it safe to shoot a real puck indoors?
No, use a soft training puck or a tennis ball for indoor shooting to protect walls, windows, and anyone nearby.
How can I help my child shoot harder?
Focus on proper wrist shot mechanics and weight transfer before worrying about power. Strength naturally adds power as players get older, but form comes first.
How often should a young player practice shooting?
Four to five short sessions a week, 10 to 15 minutes, builds more consistent improvement than occasional long sessions.
Work Creates the Reward
Turn this plan into a habit your child owns.
Your child logs the reps, prep and recovery they finish. You approve it in seconds. Points build toward rewards your family chooses. See how it works or compare membership plans.
Start Your 14-Day Trial